Instructions

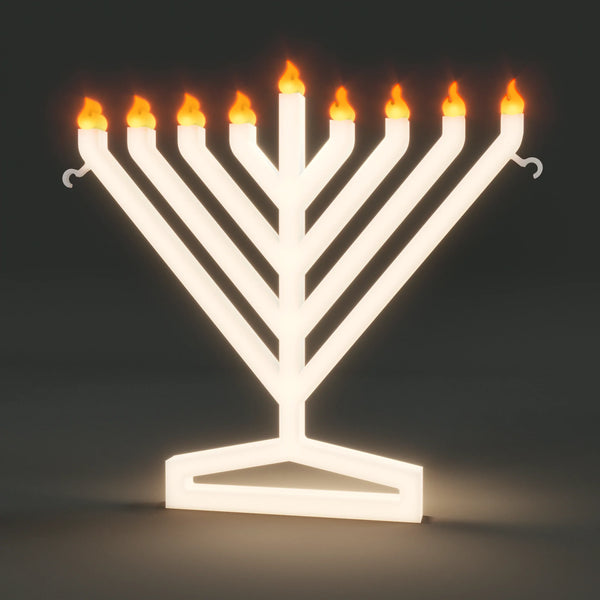
Set up your Illumin8

Pick your setup below. Most take about a minute.

Illumin8 Light Up Menorah displayed in a window, radiating festive cheer for Hanukkah

01 · About 1 minute

Window mount

You need: your menorah, the two suction cups and the USB cord.

  1. Clean the glass where the suction cups will sit.
  2. Insert the two suction cups into the loops on each side of the menorah.
  3. Press the cups to the glass, then rub each one with your finger to push out the air.
  4. Plug in and Illumin8 it!
Shop this setup
Modern Chanukah decor on table featuring the Illumin8 Menorah as an eye-catching light up centerpiece

02 · Under 1 minute

Tabletop stand

You need: the two legs from the box.

  1. Slide one leg under the shamash from the front, and one from the back.
  2. Push them together until they click into place in the center.
  3. Plug in and Illumin8 it!
Shop this setup
Illumin8 Car Menorah lit up on the roof of a yellow sports car at night

03 · About 5 minutes

Car roof kit

You need: your menorah, the car base with magnets, the two legs, rubber bands and the USB cable.

  1. Push the menorah into the car base until it is fully seated.
  2. Add the two legs, front and back, for stability.
  3. Tighten the orange screws.
  4. Loop the rubber bands around the hooks for extra hold.
  5. Clean the roof and line the menorah up where you want it.
  6. Gently set the magnets down flat on the roof.
  7. Plug into your car’s power and Illumin8 it!

Drive safe

  • Keep under 70 mph. Slow down or take it off in strong wind.
  • With the Happy Chanukah sign on, keep under 50 mph.
  • Set the magnets flat, never on bumps or grooves.
  • For long, fast drives, zip-tie the two legs together. Snug, not tight.
  • To remove, lift the magnets off corner by corner.
Shop this setup

Happy Chanukah sign for the Illumin8 Menorah

04 · About 2 minutes

Happy Chanukah sign

You need: the two sign halves and their two screws.

  1. If the two halves are screwed together, unscrew and separate them.
  2. Place one half at the front, near the top, with the first and last letters lined up with the outer branches.
  3. Place the other half behind it so the branches sit between the two halves.
  4. Push them together until they click, then fasten the two screws.
  5. Illumin8 it!

On a car

  • Mount the sign upright.
  • Keep under 50 mph with the sign on.
  • Make sure the magnets sit flush with the roof.
Shop this setup

Still stuck?

Send us a photo of your setup and we'll help. Every Illumin8 has a one-year warranty.